You will need two things within the first hour of landing in Bangkok: Thai baht in your wallet and a working internet connection on your phone. Get both wrong and you start your trip overpaying for currency and fumbling offline through a city that runs on apps. Get them right and the rest of your trip runs on autopilot.
The problem is that the most convenient options (the airport exchange booth and the first ATM you see) are also the worst. Here is exactly how to set yourself up properly, starting from the moment you clear immigration at Suvarnabhumi or Don Mueang.
Part One: Money
The Airport Exchange Trap
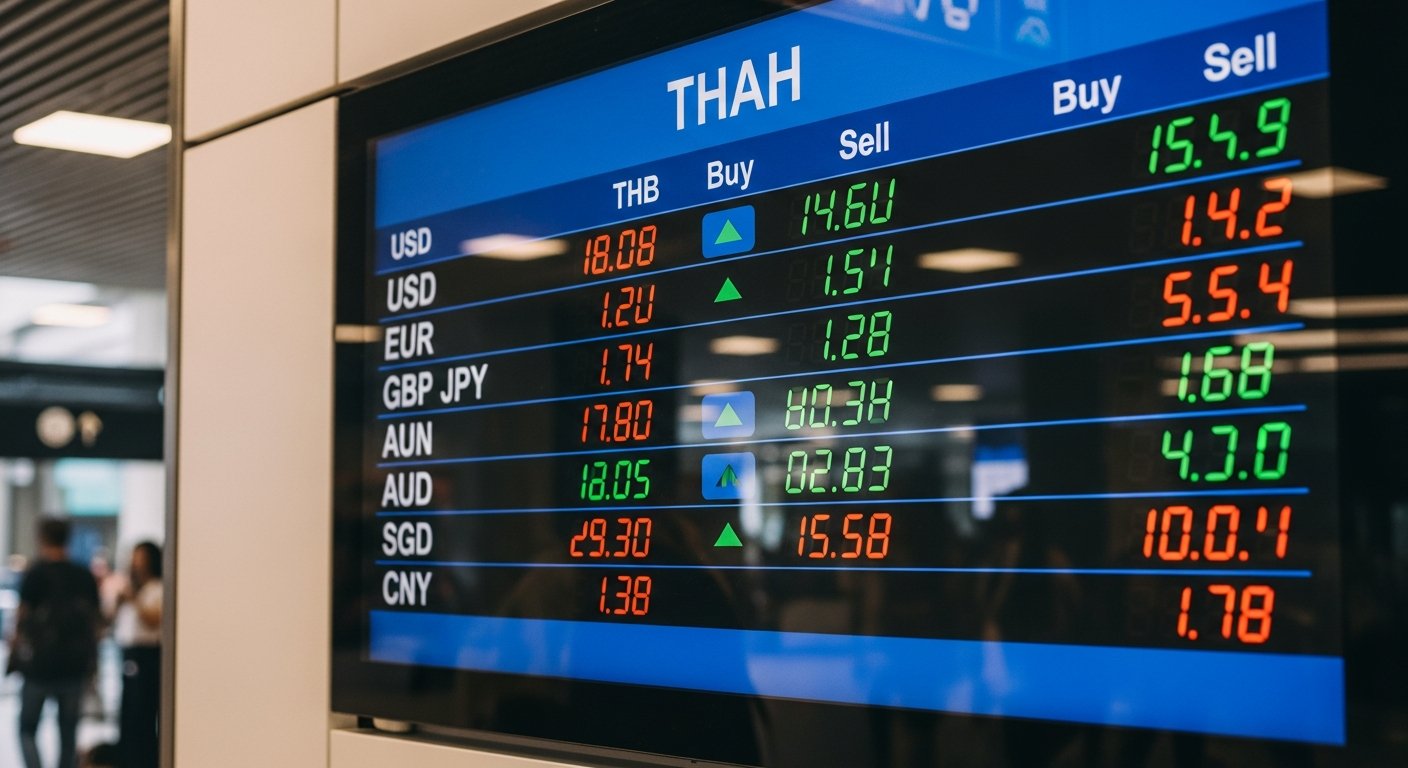
Every international terminal at Suvarnabhumi and Don Mueang has exchange counters right past customs. They are brightly lit, staffed, and waiting for you. They are also offering rates that are 5-10% worse than what you will find in the city.
On a typical day, the airport booth might give you 32.5 THB per US dollar while SuperRich in the city gives you 34.8. On a $500 exchange, that is a difference of 1,150 baht: roughly three or four meals, a massage, and a beer. Over a two-week trip where you exchange $2,000 total, the gap compounds into real money.
The smart play: Exchange just enough at the airport to get to your hotel. Around 3,000-5,000 THB covers a Grab or Bolt ride, a meal, and incidentals for the first evening. Then do the rest of your exchange at a proper city exchange house.
Where to Exchange in the City
Two names dominate Bangkok’s exchange scene, and both consistently beat banks by a wide margin.
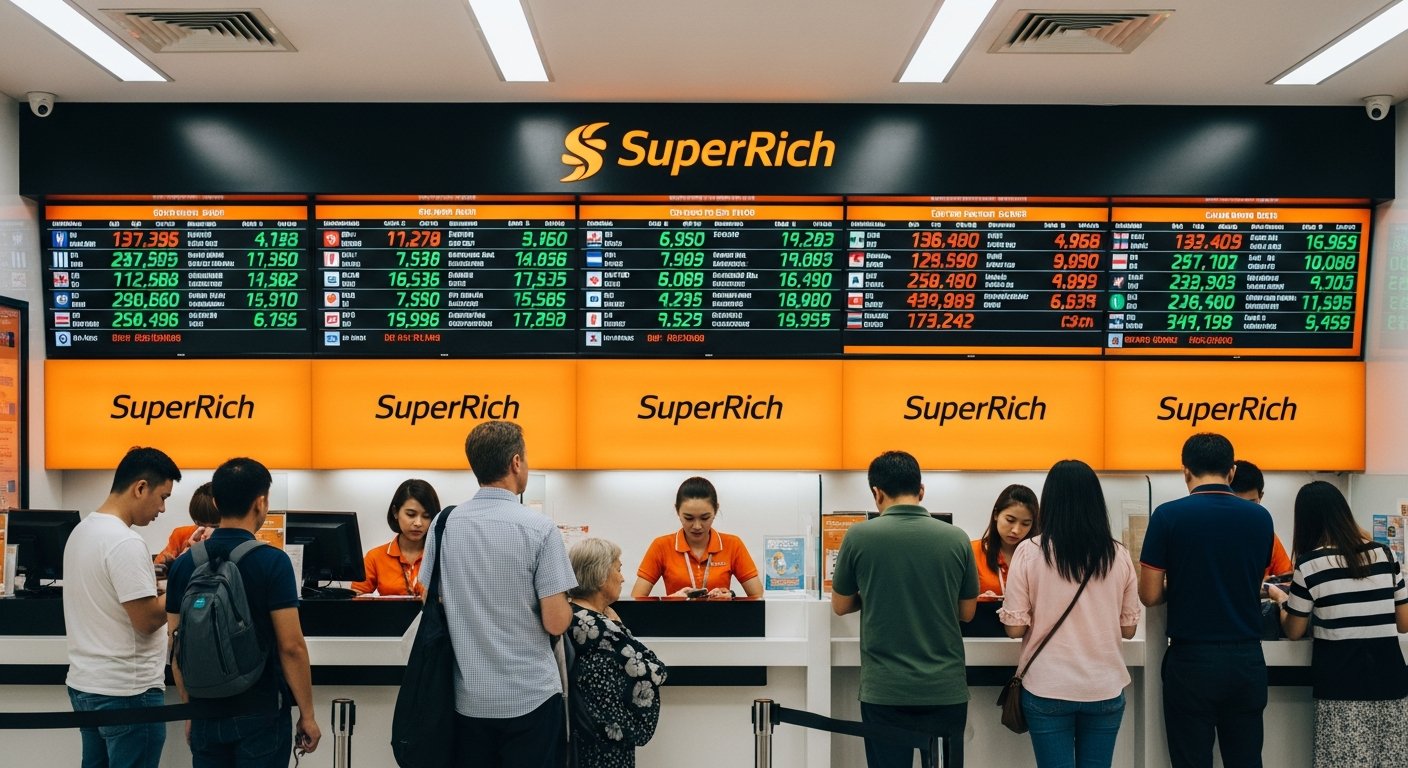
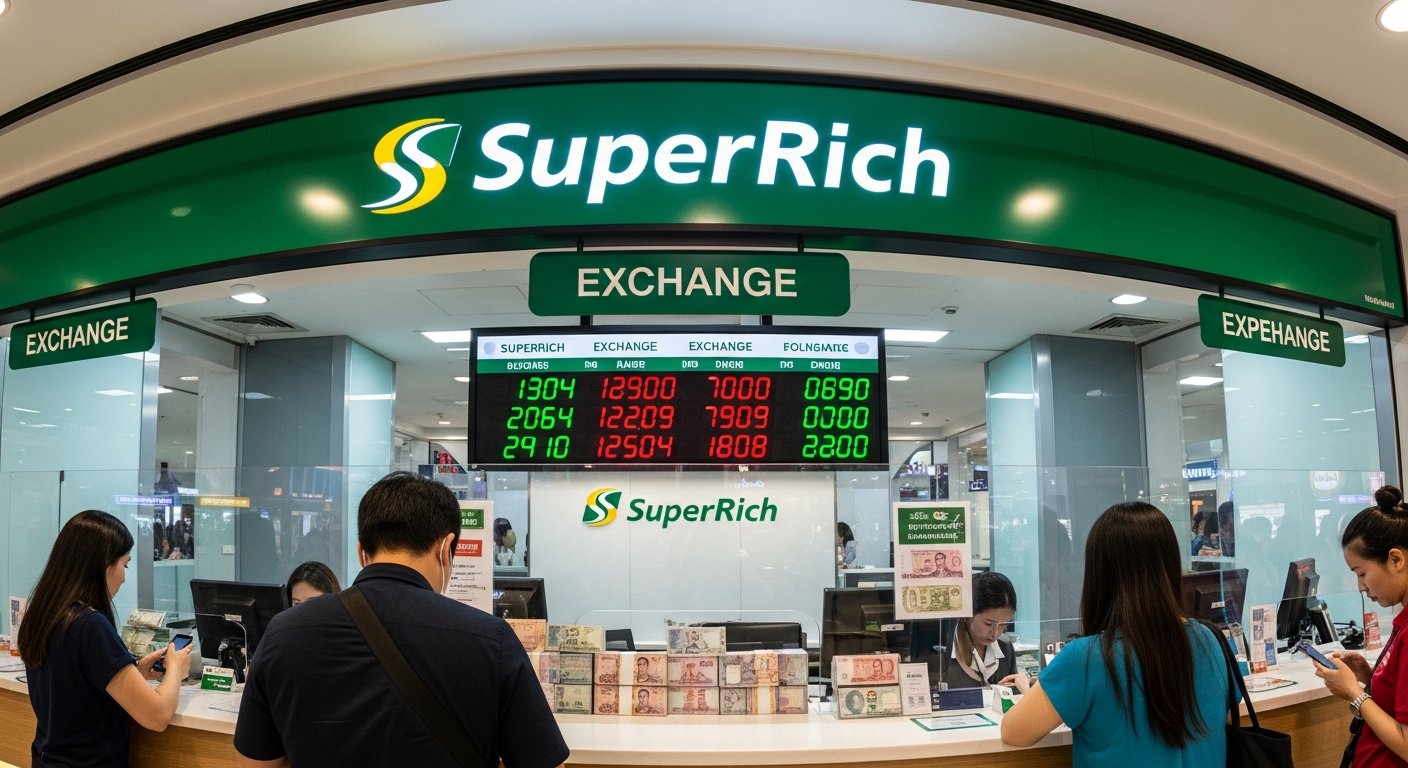
SuperRich (green and orange branches): The most reliable rates in the city. The original green-logo SuperRich near Ratchathewi BTS and the orange-logo Super Rich (yes, two separate companies with nearly identical names) on Rajdamri Road both offer excellent rates. Lines can be long, so bring your passport and arrive early. Google their current rates before going; both publish daily rates on their websites.
Vasu Exchange: Located on Sukhumvit Soi 7/1, Vasu is a traveler favorite because of the convenient location and consistently competitive rates. Slightly less crowded than SuperRich.
TIP
Check rates at SuperRich, Vasu, and your bank app before exchanging. The differences are real. On a $500 exchange, the gap between the airport booth and SuperRich can be 1,000+ baht.
What about hotel exchange desks? Skip them. Hotel rates are marginally better than the airport but nowhere near the dedicated exchange houses. The only scenario where a hotel exchange makes sense is if you are checking in late at night with zero baht and need emergency cash for dinner.
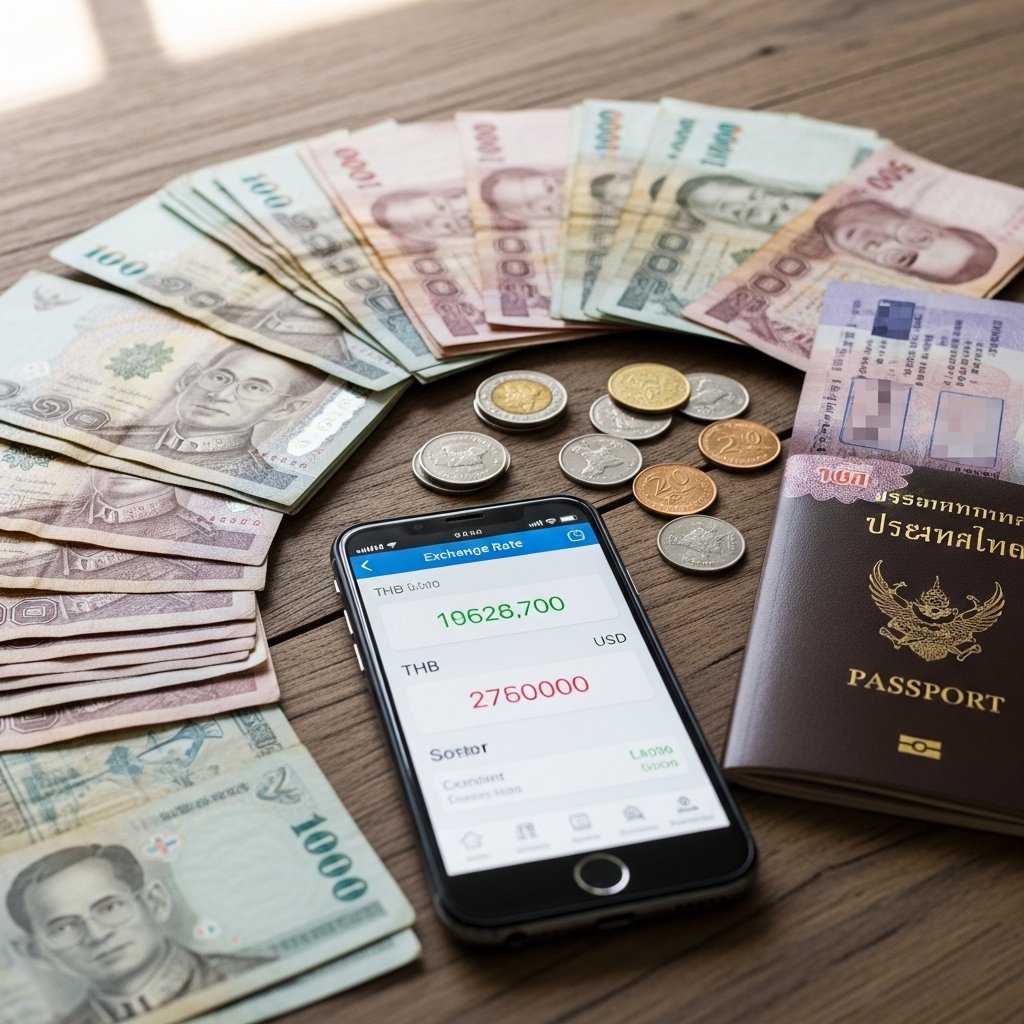
What to bring: Clean, undamaged bills in large denominations. Exchange houses give meaningfully worse rates on small bills ($20s and $50s) compared to $100s. Torn or heavily marked notes get rejected outright. US dollars get the best rates, followed by euros and British pounds.
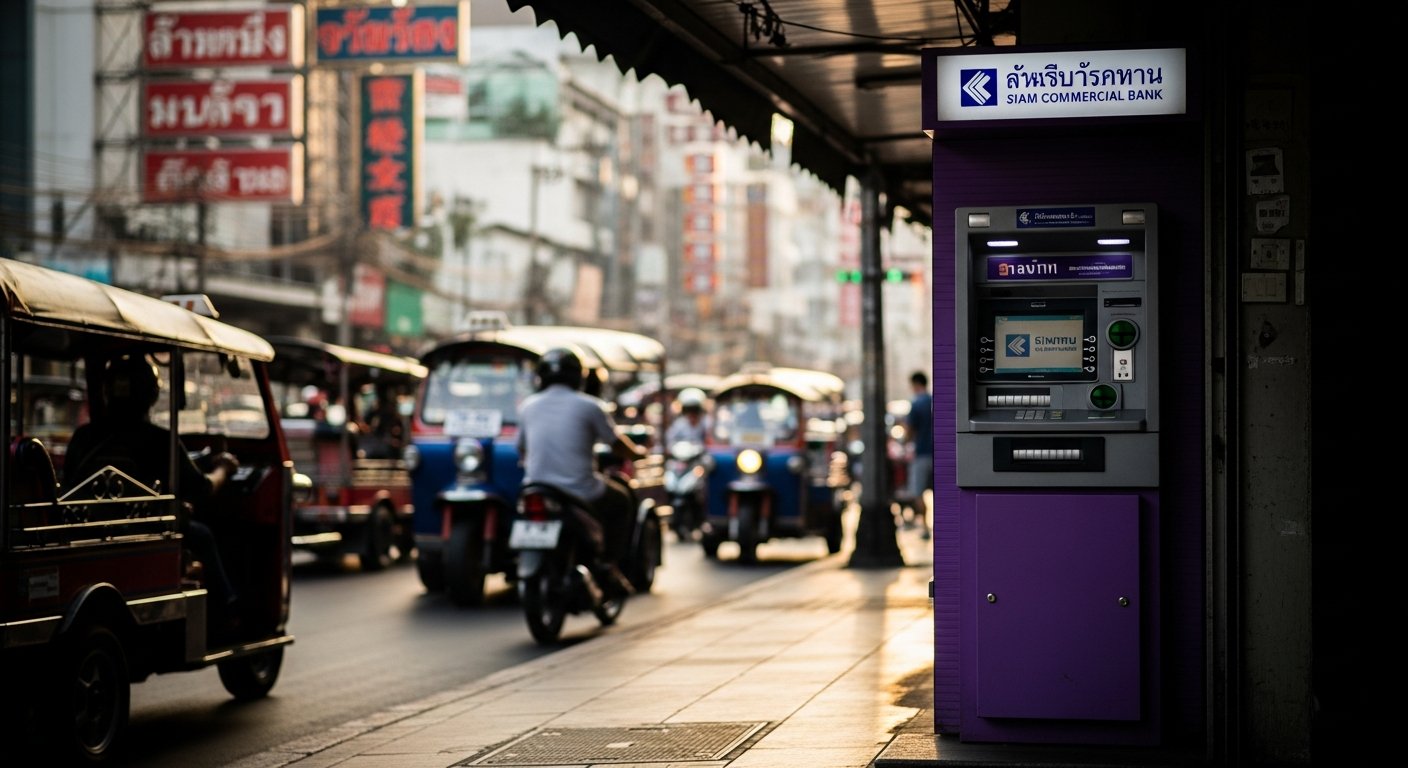
ATM Strategy: The 220-Baht Problem
Every ATM in Thailand charges foreign cards a flat 220 THB fee per withdrawal. Every single one. There is no way around this fee. It is set by Thai banking regulators and applies universally regardless of which ATM network you use.
The math makes the strategy obvious: withdraw as much as you are comfortable carrying to minimize the number of times you pay that fee. If your daily ATM limit allows 20,000-30,000 THB, withdraw the maximum and pay the fee once rather than making five small withdrawals at 1,100 THB in fees.
The real savings come from your bank’s side. Most Western banks add a foreign transaction fee of 1-3% on ATM withdrawals abroad. Over a trip, that adds up fast. The solution:
- Wise (formerly TransferWise): The single best option for most travelers. No foreign transaction fee, near-perfect mid-market exchange rate, and you can hold Thai baht in the app before you even land. The Wise debit card works at Thai ATMs. You still pay the 220 THB Thai-side fee, but you avoid the home bank markup entirely.
- Revolut: Similar to Wise. Free ATM withdrawals up to a monthly limit (varies by plan), excellent exchange rates on weekdays.
- Charles Schwab debit card: Reimburses all ATM fees worldwide, including the Thai 220 THB fee. The gold standard if you have a Schwab account, though it is US-only.
If you do not have any of these cards, apply for one before your trip. The savings over a two-week holiday easily justify the setup time.
WARNING
When the ATM screen asks “Accept conversion?” or “Proceed in your home currency?”, always choose NO. This is Dynamic Currency Conversion: the ATM converts to your home currency at a terrible rate, adding 3-5% to the transaction. Always withdraw in Thai baht and let your own bank handle the conversion.
Credit Cards: Where They Work and Where They Don’t
Visa and Mastercard are widely accepted at malls, hotel restaurants, upscale bars, chain convenience stores (7-Eleven accepts contactless), and most sit-down restaurants in tourist areas. Amex acceptance is limited, so bring it as a backup rather than your primary card.
Where cash is still king:
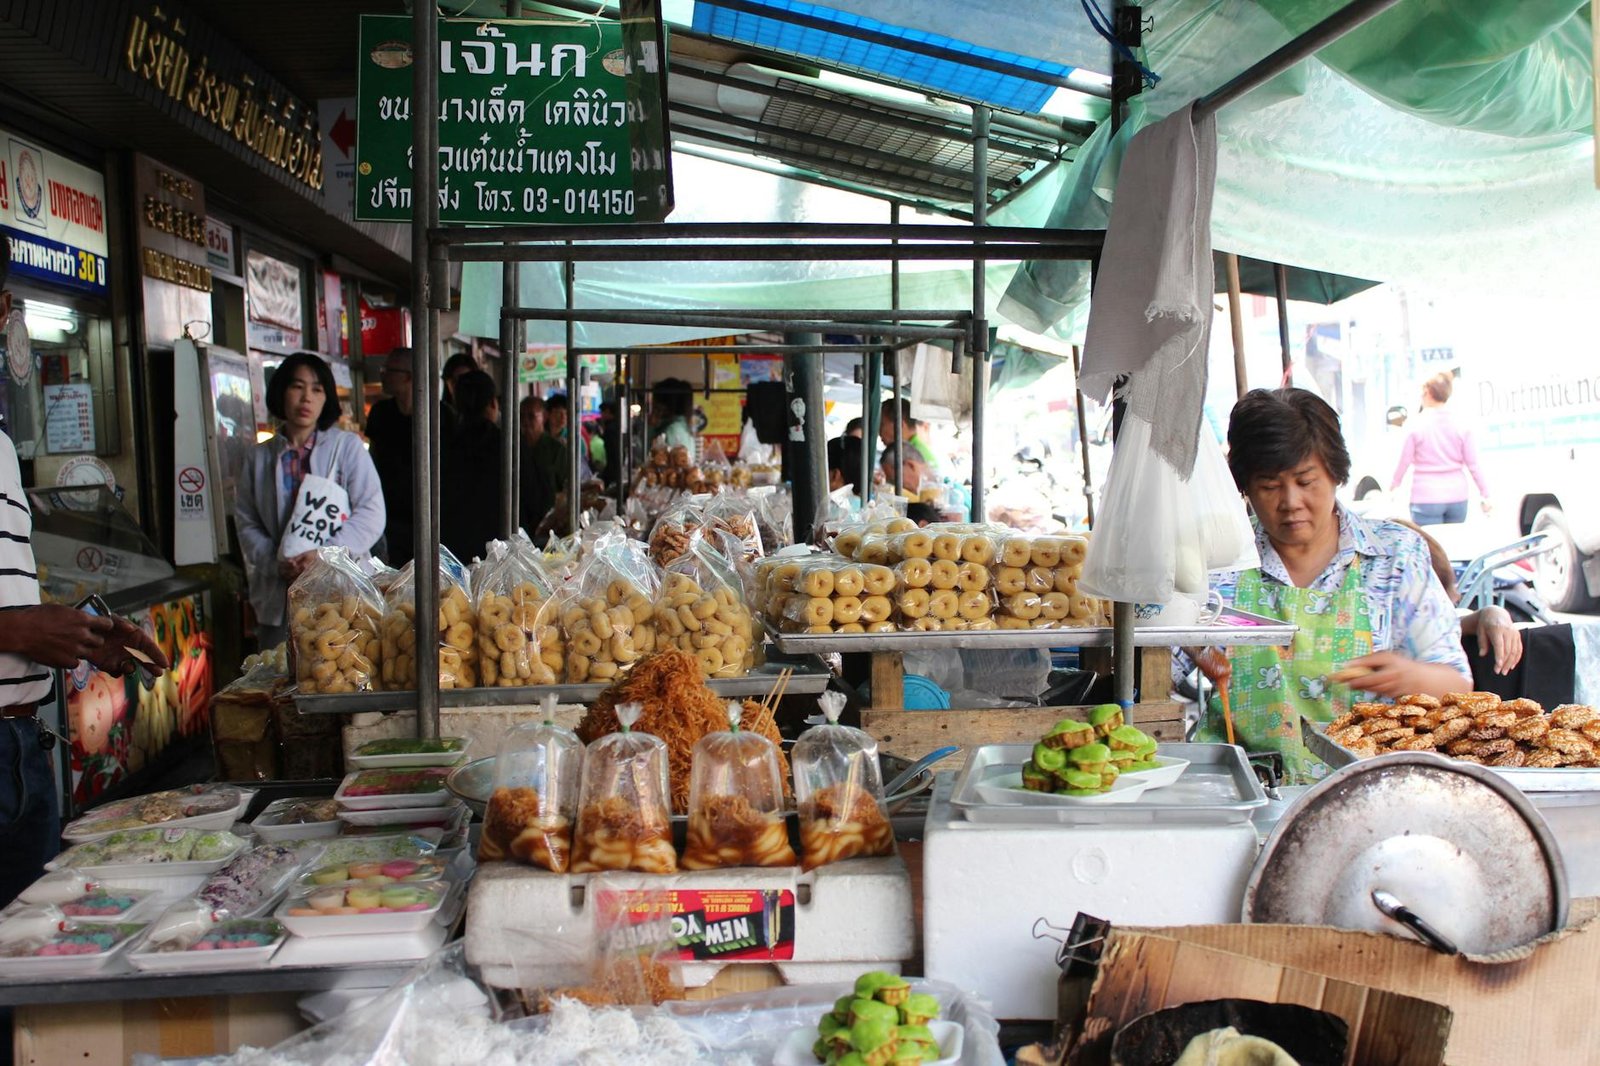
- Street food stalls and market vendors (nearly all cash-only)
- Taxis and tuk-tuks (use Grab or Bolt to pay by card instead)
- Small family-run restaurants and noodle shops
- Temples — entry fees, donations, and offerings
- Night markets, laundry shops, and most small businesses
Bangkok is not a cashless city. It is a cash-first city with cards as a convenience layer on top. Plan accordingly.
How Much Cash to Carry Daily
Your daily cash needs depend entirely on how you spend your time. Here is a realistic breakdown:
| Travel Style | Daily Cash (THB) | What That Covers |
|---|---|---|
| Budget | 1,500-2,500 | Street food, BTS/MRT fares, one activity |
| Comfortable | 3,000-5,000 | Mix of street food and restaurants, Grab rides, 1-2 activities |
| Living well | 5,000-10,000 | Sit-down restaurants, shopping, spa, nightlife |
Keep a reserve of 1,000-2,000 THB beyond your daily spend. Emergencies, unexpected finds, that vendor selling the best mango sticky rice you have ever tasted who definitely does not take Visa.
Denominations matter. Thai ATMs dispense 1,000-baht notes. Break these at 7-Eleven (buy a water), at your hotel front desk, or at larger restaurants before you hit the street food scene. Vendors and taxi drivers often cannot make change for 1,000. Carrying a stack of 100s, 50s, and 20s makes every transaction smoother. Knowing the local tipping norms helps you keep the right bills handy.
Part Two: SIM Cards and Connectivity
Why You Need a Local SIM
A working Thai SIM card is not optional. It is the infrastructure layer that makes Bangkok navigable. Without mobile data, you lose access to:
- Grab and Bolt — the only sane way to get around the city
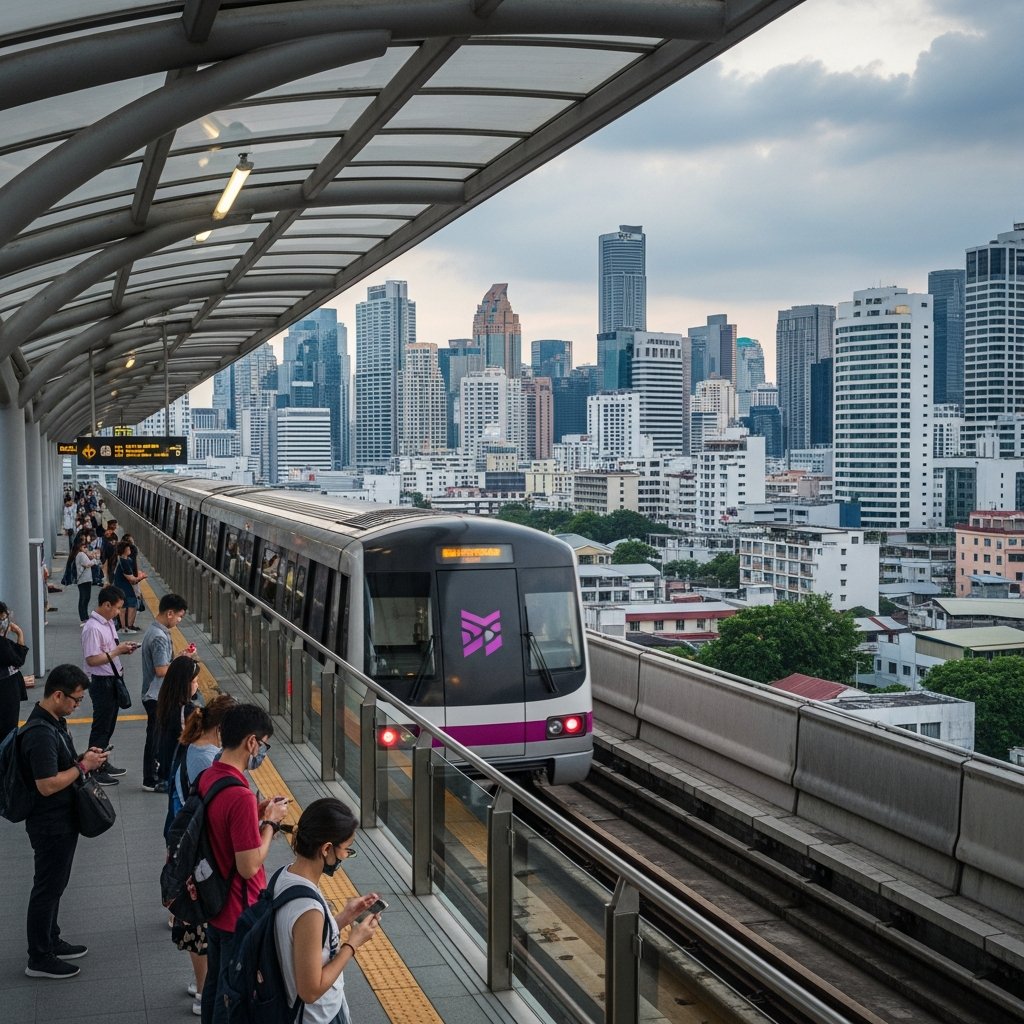
- Google Maps — essential for navigating the BTS, walking between sois, and finding specific addresses
- Google Translate — the camera mode is indispensable for Thai menus and signs. Even with some survival Thai phrases memorized, Translate fills the gaps
- Line — Thailand’s dominant messaging app, used by hotels, tour operators, restaurants, and basically everyone
- Grab Food and Foodpanda — delivery for the nights you do not want to leave the hotel
Free hotel WiFi works fine in the lobby. The moment you step outside, you are blind without data. Bangkok is not a city you navigate by instinct. The soi numbering system, one-way streets, and sprawling distances between BTS stations all require a working phone.
eSIM: The Skip-the-Counter Option
If your phone supports eSIM (every iPhone since the XS, most recent Androids), you can activate Thai mobile data before you board your flight. No passport registration, no airport counter queue, no physical SIM to swap. Two options that work well in Thailand:
- Airalo Thailand “Thai-landee” plan: 1GB for 7 days from around $5, 5GB for 30 days around $16. Uses the AIS network (best coverage for islands and north). Install the app, buy the plan, scan the QR code, done. Data-only with no Thai phone number, which is fine for most travelers who rely on Line/WhatsApp/iMessage.
- Holafly Thailand: Unlimited data plans from $6/day up to $87/30 days. Pricier but genuinely unlimited with no throttling. Good for heavy users or content creators uploading photos and video.
When eSIM beats physical SIM: Short trips (1–2 weeks), you already have a home-country number you want to keep active for 2FA, or you just do not want to deal with the airport counter. When to still use physical SIM: Stays longer than a month (local plans get cheaper per-GB at higher tiers), you need a Thai phone number to book a grab-and-pay-with-cash ride or for tour operators to call you, or your phone does not support eSIM.
The Three Carriers
| Carrier | Network Strength | Best For | Tourist SIM (15 days) |
|---|---|---|---|
| AIS | Best nationwide, including islands | Travel beyond Bangkok | 299-599 THB |
| True Move H | Strong in cities, popular tourist packages | Bangkok-focused trips | 299-499 THB |
| DTAC (merged with True) | Good urban coverage | Budget option | 199-399 THB |
AIS has the strongest network, particularly outside Bangkok. If your trip includes islands, national parks, or northern Thailand, AIS is the safest bet for consistent signal in remote areas.
True Move H is the most popular among tourists thanks to aggressive airport marketing and solid tourist SIM packages. Coverage is excellent in Bangkok and all major tourist destinations.
DTAC merged with True in 2023, so the networks are converging. New tourist SIMs are increasingly sold under the True brand.
For a Bangkok-only trip, all three carriers are functionally identical. For island-hopping or northern trekking, AIS edges ahead.
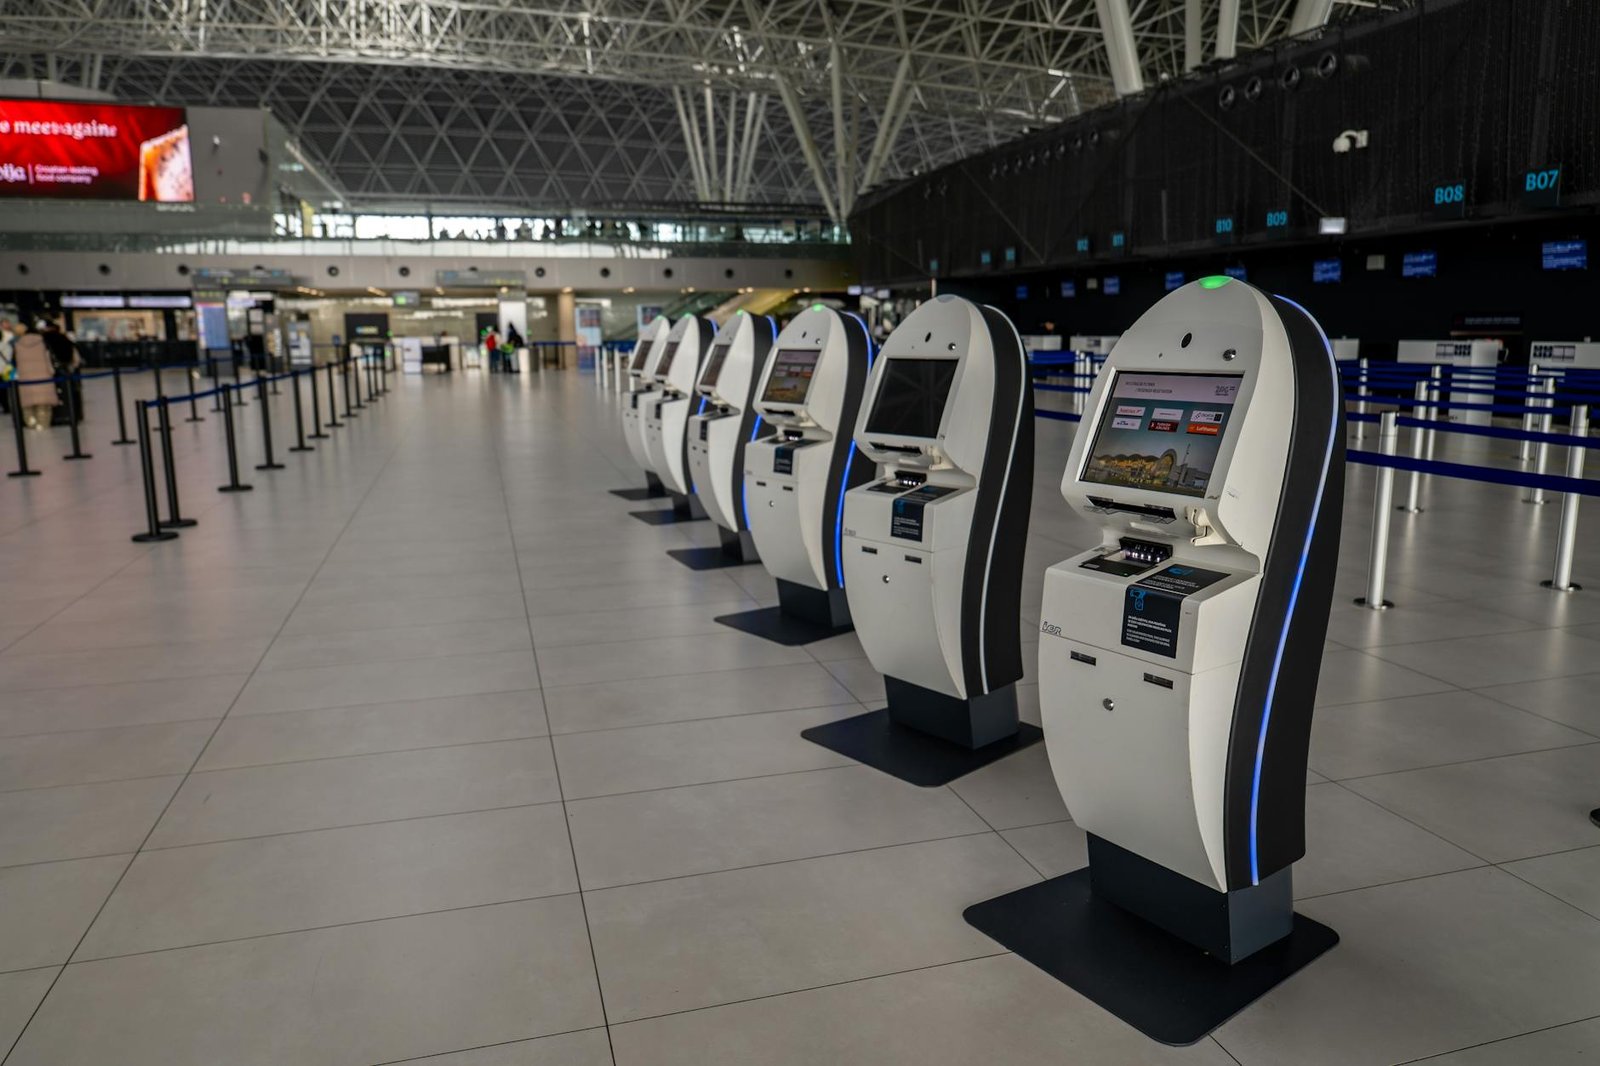
Where to Buy: Airport vs 7-Eleven
Airport counters (recommended): Both Suvarnabhumi and Don Mueang have AIS, True, and DTAC counters in the arrivals hall, open 24 hours. Staff speak English, they install the SIM and configure settings for you, and you walk out with a working phone in under five minutes. Prices are 50-100 THB more than a 7-Eleven, a trivial premium for the convenience of having data before you book your first ride.
7-Eleven: Every 7-Eleven in Bangkok sells SIM starter packs and top-up vouchers. Slightly cheaper, but the cashier may not help you configure APN settings, and English support is inconsistent. Best for tech-savvy travelers or for buying a replacement SIM mid-trip.
What you need: Your passport. Thai law requires ID registration for all SIM card activations. The counter staff will scan your passport and link the SIM to your identity. Takes about five minutes at the airport, two minutes at 7-Eleven.
Tourist SIM Packages
A typical tourist SIM includes:
- 15 days of unlimited data (throttled after a high-speed cap, usually 6-15 GB at full 4G/5G speed, then reduced to usable but slower speeds)
- 100 THB of call credit (enough for emergency calls; you will use Line for everything else)
- Price: 299-599 THB depending on carrier, data volume, and validity period
For a 7-14 day trip, a 299 THB True tourist SIM handles everything comfortably. The 599 THB AIS Traveller SIM includes more high-speed data and 30-day validity, worth it if you are staying longer or plan to stream video.
TIP
If you burn through your high-speed data, top up at any 7-Eleven. Tell the cashier your phone number and how much you want to add. Around 100 or 200 THB is usually enough to restore full-speed data for another few days.
The Optimal First-Hour Sequence
Here is the step-by-step for your first hour after landing, combining both money and connectivity into one efficient pass through the airport:
- Clear immigration. Have your passport and arrival card ready. Lines at Suvarnabhumi can take 20-60 minutes. The airport arrival guide covers how to speed this up.
- Grab your bags and clear customs.
- SIM counter first. Hit the AIS or True booth in the arrivals hall. Get a 15-day tourist SIM. Staff install it, you are online in five minutes.
- Exchange a small amount. Walk to the nearest airport exchange counter and convert just 3,000-5,000 THB worth of your currency. This is taxi-and-dinner money, not your main exchange.
- Book your ride. Open Grab and Bolt (download both before your trip), compare prices, book the cheaper one. You now have data to navigate and a ride confirmed.
- Next day: proper exchange. Visit SuperRich or Vasu in the city and exchange the bulk of your travel cash at rates that are 5-10% better than what you just got at the airport.
That is it. Connected, funded, mobile. Everything else (understanding how much to tip, sorting out travel insurance, finding malls that take your card) you can figure out from the comfort of your hotel room with a working phone and cold Chang in hand.
FAQ
Should I bring US dollars or my home currency?
US dollars get the best exchange rates at Thai exchange houses, followed by euros, British pounds, and Japanese yen. Bring cash in $100 bills — exchange houses give meaningfully worse rates on $20s and $50s, and torn or heavily marked bills get rejected. If your home currency is not USD, it is sometimes worth converting to dollars first, though check the math — the two-step conversion only wins if the rate differential is large enough to overcome the double exchange.
Is it safe to carry cash in Bangkok?
Bangkok is remarkably safe for a major city. Violent crime targeting tourists is rare. Petty theft (pickpocketing in crowded markets, bags snatched from tuk-tuks) happens but is uncommon with basic precautions. Use your hotel safe for your main cash reserve, carry only what you need for the day in a front pocket or crossbody bag, and do not flash large amounts at markets or on the street.
Can I use Apple Pay or Google Pay?
Increasingly yes, but do not rely on it. Major malls (Siam Paragon, CentralWorld, Terminal 21), chain convenience stores, and upscale restaurants accept contactless payments. Coverage is inconsistent everywhere else. The pad kra pao stall in Silom that will change your life does not have a contactless terminal. Treat mobile pay as a bonus, not a strategy.
What if my SIM stops working mid-trip?
Usually it is a data cap issue, not a hardware problem. Tourist SIMs throttle speed after you hit the high-speed limit, making data near-unusable. Walk into any 7-Eleven, give the cashier your number, and top up 100-200 THB. You can also top up through the carrier’s app (myAIS, True iService, or DTAC app). If the SIM itself is defective, visit any carrier store — they are on nearly every major street — and they will replace it free with your passport.
Do I actually need a Thai phone number?
Not strictly, but it makes life noticeably easier. Line — Thailand’s universal messaging app — works best with a phone number for registration. Hotels, tour operators, massage shops, and restaurant reservations increasingly communicate through Line. If you plan to interact with any Thai businesses beyond your hotel concierge, a Thai number helps. A physical SIM gives you one automatically. An eSIM alone does not.